Introduction
Asphalt surfaces, whether they are driveways or parking lots, require regular maintenance to ensure longevity and functionality. One of the most effective ways to protect and enhance the appearance of asphalt is through sealcoating. In this comprehensive guide, we'll delve deep into the process of preparing asphalt for sealcoating like a professional. Whether you're an enthusiastic DIYer or a property manager looking for asphalt paving services, understanding the nuances of this process will help you achieve optimal results.
What Is Sealcoating?
Sealcoating is a protective layer applied to asphalt surfaces to guard against damage caused by weather elements, UV rays, oil spills, and vehicular traffic. This protective barrier not only enhances the aesthetic appeal but also extends the life of your pavement.
Why Is Preparing Asphalt for Sealcoating Important?
Before diving into asphalt paving sealcoating, it’s crucial to prepare your asphalt properly. Poor preparation can lead to issues such as peeling, bubbling, and premature wear. Thus, knowing how to prepare asphalt for sealcoating like a professional is essential.
Understanding Asphalt Types and Their Importance in Sealcoating
1. Types of Asphalt Used in Paving
Asphalt comes in various forms—hot asphalt companies mix asphalt (HMA), cold mix asphalt, and more. Each type has its unique properties that influence how well it will respond to sealcoating.
1.1 Hot Mix Asphalt Paving
Hot mix asphalt is commonly used for high-traffic areas due to its durability. It offers good compaction and is ideal for both residential and commercial paving projects.
1.2 Cold Mix Asphalt Paving
Cold mix is best suited for repairs rather than new installations. It's often used for patching potholes or cracks before sealcoating.
2. Significance of Quality in Asphalt Paving Services
When hiring asphalt paving contractors, look for those who utilize high-quality materials and techniques. The initial quality of your asphalt surface directly impacts how well it holds up after sealcoating.
Preparing Your Asphalt Surface: The Step-by-Step Process
3. Inspection: Assessing Condition Before Sealcoating
Before any preparation begins, thoroughly inspect your asphalt surface. Look for cracks, potholes, or signs of wear that may need immediate attention.
4. Cleaning Your Asphalt Driveway or Parking Lot
A clean surface is essential for effective adhesion during sealcoating. Here’s how to clean your surface properly:
4.1 Sweeping Away Debris
Use a heavy-duty broom or industrial-grade sweeper to remove dirt, leaves, and other debris from the surface.
4.2 Power Washing: A Key Step in Preparation
Power washing can effectively remove stubborn stains such as oil spills or tire marks from vehicles.
Addressing Common Issues Prior to Sealcoating
5. Filling Cracks: An Essential Repair Task
Cracks must be filled before applying a sealcoat to prevent moisture intrusion that can lead to further damage.
5.1 Different Crack Sealing Methods
- Asphalt Crack Sealing: This involves using specialized materials designed specifically for sealing cracks. Filling Small Cracks: Use a rubberized crack filler or caulk for smaller fissures.
6. Repairing Potholes and Other Damage
If you notice potholes during your inspection, these should be repaired before proceeding with sealcoating.
6.1 Patch Repair Techniques
- Use cold patch material if temperatures are low. For larger repairs, consider hot patching methods that offer better durability.
Choosing the Right Sealcoat Product
7. Types of Sealcoat Products Available in Market
There are several different types of sealcoat products available on the market today:
7.1 Coal Tar vs Asphalt Emulsion Sealers
Each has its advantages; coal tar tends to be more durable but might have higher VOC levels compared to asphalt emulsions which are less toxic but slightly less durable.
7.2 Acrylic Sealers: An Alternative Option
Acrylic-based sealers provide excellent protection against UV rays but may require more frequent reapplication.
Preparing Asphalt for Sealcoating Like a Professional Techniques
8. The Importance of Temperature During Sealcoating Process
The temperature plays a crucial role in effective application; ideally, temperatures should be between 50°F and 90°F when applying sealant.
9. Timing: Best Time of Year for Sealcoating Projects
Spring or early fall are generally considered optimal times as they allow enough time for the product to cure without exposure to extreme temperatures or weather conditions.
DIY vs Professional Sealcoating Services: Which Is Best?
10. Advantages of Hiring Professional Asphalt Companies
While some homeowners opt for DIY methods due to cost savings, hiring professionals ensures quality results with minimal risk involved.
10.1 Expertise Matters
Professional contractors have experience dealing with various conditions that may arise during preparation and application stages.
FAQs about Preparing Asphalt for Sealcoating
FAQ 1: How often should I apply sealcoat?
Generally speaking, it’s advisable to apply sealcoat every 2-3 years depending on traffic levels and environmental factors affecting your pavement's condition.
FAQ 2: Can I apply sealcoat myself?
Yes! However, proper preparation is vital—if you're unsure about any steps involved consult with professionals who can guide you through the process efficiently!
FAQ 3: What happens if I skip cleaning prior?
Skipping cleaning can lead directly towards poor adhesion which results in peeling later on down the line—definitely not something you want!
FAQ 4: How long does it take for new sealcoat applications to dry?
Typically it takes around 24 hours under ideal conditions; however cooling temperatures at night might extend drying time slightly so plan accordingly!
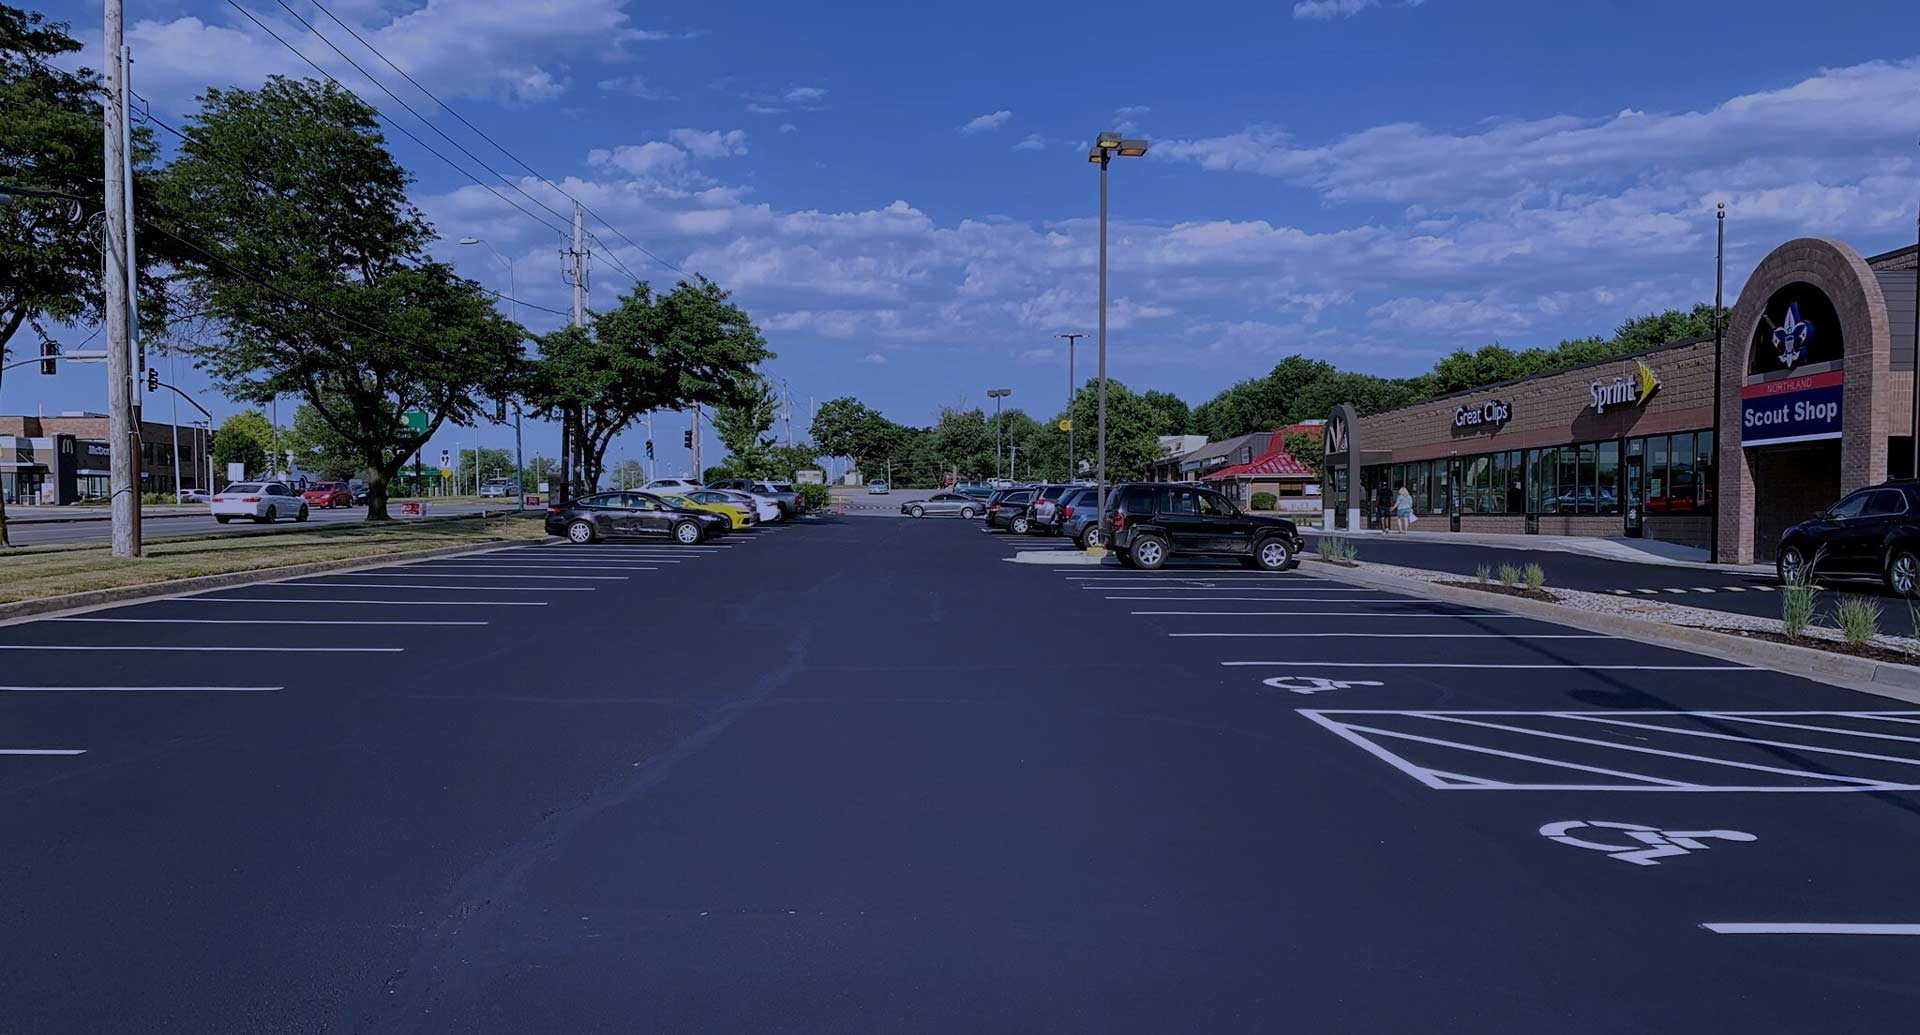
FAQ 5: What is ADA-compliant parking lot striping?
ADA compliance refers specifically ensuring accessible spaces meet regulatory requirements set forth by Americans With Disabilities Act ensuring safe navigation throughout parking areas!
FAQ 6: What preparations should I do before hiring an asphalt contractor?
Ensure you gather multiple quotes from reputable companies while checking reviews online; this will save time & money while ensuring top-notch service throughout project duration!
Conclusion
Preparing asphalt for sealcoating like a professional requires attention to detail and an understanding of best practices in maintenance procedures—from inspection through cleaning all way down till application itself! The benefits gained through diligent preparations cannot be overstated—they extend lifespan while enhancing aesthetics overall providing protection against harmful elements found outdoors! Whether working on residential driveways or commercial properties implementing these strategies guarantees optimal outcomes every time!
By following this comprehensive guide on preparing your surface correctly ahead-of-time you'll not only improve longevity but also enhance curb appeal significantly making sure any investment made pays off many times over!